How To Laminate Your Brows At Home – In 15 Minutes!
 Source: Presley Ann/Patrick McMullan/Getty Images
Brow lamination is the latest brow trend to take Instagram by storm. And while it’s definitely more budget-friendly than other brow treatments like microblading, we’re always on the lookout for cost-saving hacks. Most recently, we saw a DIY brow lamination pop up on our Instagram feed, and we were shook. Beauty influencer CC Clarke crafted her own brow lamination DIY and was left with perfectly feathered brows in 20 minutes – she didn’t even need to leave the couch; #goals.
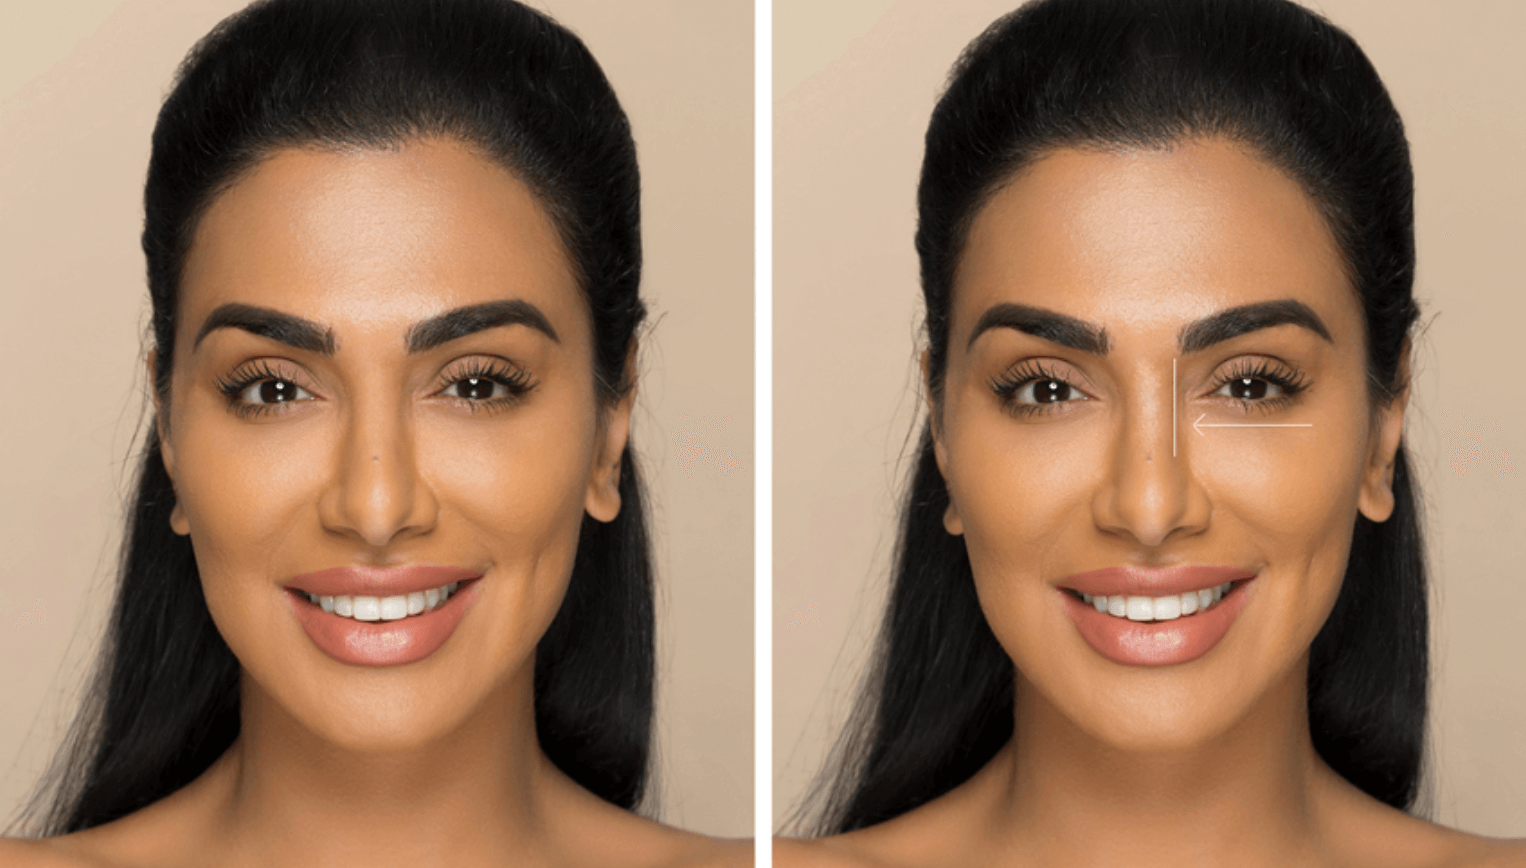
If you’re still wondering, ‘what’s brow lamination?’ here’s the DL: Brow Lamination is a semi-permanent brow treatment that straightens, sets, and tints your brow hairs leaving you with full, thick brows for up to eight weeks (check out the results below). The treatment typically costs around $50-60, however, this DIY will only set you back $23, and you’ll be able to use it multiple times!
View this post on Instagram
To achieve the lion brow look, CC Clarke got creative and actually used the Aroamas Eyelash Perm Kit Full Eyelash Lift Kit, $23, which she bought on Amazon. The three-step treatment perms and sets the brow hairs for a laminated effect. CC then tinted her brows for a full-brow look. Although she actually accidentally tinted them too dark, so take note: tint with care!
View this post on Instagram
How to Laminate Your Brows At Home
Step 1: Ensure your brows are clean and all product is removed using the cleansing solution.
Step 2: Brush the brows upwards with a spoolie and apply the Lash Glue. Once every single hair is coated, brush through the brow once again with a spoolie so the hairs stand up.
Step 3: Next apply the perming solution with a Q-tip in an upwards direction.
Step 4: Take a large sheet of cling film and place it on top of your brows. Leave the cling film on for eight to 10 minutes, then wipe away the solution with micellar water on a cotton pad.
Step 5: Apply the setting solution to your brows with a Q-tip and then place a clean sheet of cling film on the brows for 10 minutes, then wipe away the solution with micellar water on a cotton pad.
Step 6: Groom your brows to your preference. If you have light brows, you can tint them to reveal the thinner, light hairs for fuller-looking brows. You may also need to trim or pluck the occasional hair to create a more polished finish.
Aftercare: Don’t get the brows wet or apply makeup for 24 hours for long-lasting results. To keep the brow hair healthy, comb through your brows with the nourishing oil and a spoolie every night before you sleep.
Posts You'll Love:
Quick Brow Grooming Tips:
Don’t be afraid to trim: All you need to do is brush the hair upwards (vertically using a spooley) and then rest the brow scissors gently above the outline of your brow and slowly cut.
Tweeze post-shower: Tweeze after you’ve showered, as your pores will be more open so it’ll be less painful.
Don’t be afraid to pluck above the brow: This is a controversial topic, as many people believe you should never pluck above the brow. But, if there are any stray fine hairs, feel free to tidy them up.
Check out everything you need to know about brow lamination here, and if this seems like too much effort, then check out this product that will give you a laminated brow look in seconds.
Disclaimer: Every product we review has been independently selected and tested without bias by our editorial team. Although some brands allow affiliate links, we never take payment to review products, so we may earn a commission if you purchase a product by clicking on one of our links.


Leave a comment