


3 Common Baking Mistakes (& What To Do Instead)

via Giphy
If you’re a regular on TikTok, you’ll be familiar with the soundbite… “Name that one product or hack you didn’t know you needed but now you can’t live without.” Well, for us, that’s baking using our ride-or-die Easy Bake Setting Powder, $35.
Baking your beat, AKA applying a loose powder on top of your cream products is literally the icing on top of any makeup look. It sets your makeup for long-lasting wear while giving a stunning airbrushed finish. Just ask any makeup artist, and they’ll tell you it’s the secret to a crease-proof, life-proof beat. However, if applied incorrectly, it can make your skin look dry and kinda cakey. To help, we’ve curated a list of the most common mistakes and, of course, supplied the deets on what to do instead. We don’t gatekeep… Ever!
Baking 101
Okay, so before we get into the most common mistakes, let’s give you a little debrief on baking. Baking involves applying a thick layer of loose setting powder on top of your cream complexion products to set them. It’s typically done to brighten the undereye, but you can also bake your chin, nasolabial folds, and the center of your forehead to set your makeup – basically, any areas of your face where makeup tends to crease or is prone to oiliness.
How to Bake: Dab a heavy-duty layer of a loose setting powder onto areas you want to bake using a damp makeup sponge or powder puff. Allow the baking powder to sit on your skin for three to five minutes, then sweep off the excess with a loose fluffy brush. The final result? A budge-proof beat that looks effortlessly airbrushed.
Baking Mistake #1: You’re Not Prepping Your Skin
When it comes to baking, prep is essential – I mean, you wouldn’t just throw some icing at a situation and hope for the best now, would you? Well, baking your beat is the same. In short: if your skin is dry or you haven’t exfoliated in a hot minute, your baking powder will likely settle into any fine lines or creases and could make your skin look dry and flakey rather than perfectly smooth.
The first point of prep is exfoliation, as this will help create a smooth canvas for makeup application and melt away any dead skin while leaving your skin brighter than before. Of course, for this step, we always reach for our WISHFUL Yo Glow Enzyme Scrub, $39, which is enriched with papaya and pineapple enzymes to gently remove dead skin while amping up your glow game. We’re obsessed.
The next step is hydration. For the undereye area, we love using the WISHFUL Eye Lift and Contour Peptide Serum, $45, as it’s super lightweight and hydrating, but it also firms the undereye area for a smooth finish. Then, we seal in all that glazed hydration with our Honey Whip Peptide Moisturizer, $48, as it’s formulated with nourishing manuka honey and restorative peptides.
Trust us, when you do the prep work, the final result is so. Much. Better!
Baking Mistake #2: Your Baking Powder Has the Wrong Undertone
Figuring out your undertone is like cracking a cheat code when it comes to makeup. It’s the secret to always finding the perfect shade for your skin tone so your complexion looks fire. However, this step often gets overlooked when it comes to powder. When baking, many people use a clear translucent powder, but the real game changer is finding one that blends and brightens your unique undertone and skin tone. You may be familiar with the pink powder hack that went viral a few months ago, which uses a pink setting powder to bake and cancel out dark circles.
@_aaliaaaa Trying the new Huda Beauty Pink Powder! What do we think? #pinkpowder #cherryblossomcake ♬ original sound – RedRum
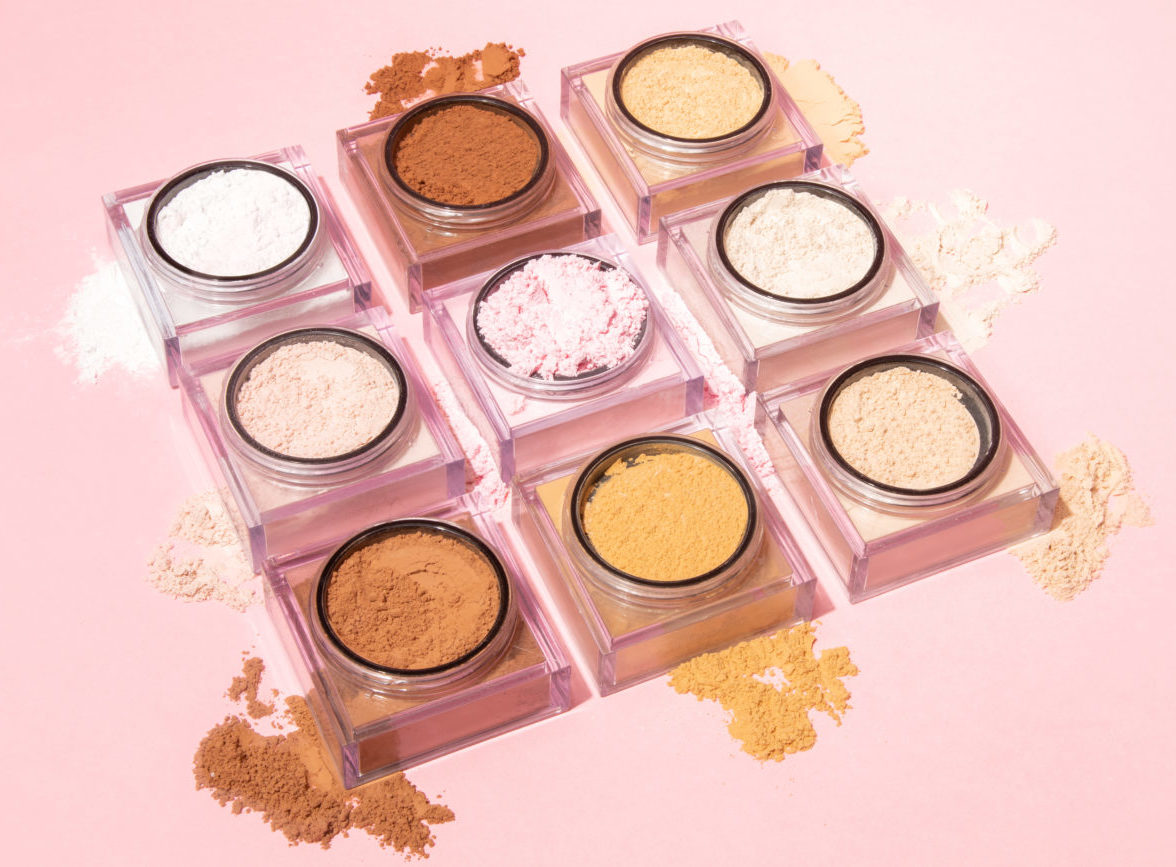
While pink powder works best for brightening fair to medium skin tones, yellow-toned powders give the most stunning brightening results for medium to rich skin tones. Lucky for you guys, our Easy Bake Setting Powder, $35, is available in nine shades, all with different undertones. For example, the shades Blondie and Kunafa, have yellow undertones that blend and brighten richer skin tones beautifully (see it in action here). And of course, we also have our sell-out shade (now back in stock!), Cherry Blossom, with pink undertones.
Posts You'll Love:
Baking Mistake #3 You’re Using too Much Powder
As makeup lovers, we know a thing or two about a full glam moment. However, when it comes to makeup, sometimes less is more, and that can be the case with baking powder. If you layer on too much powder, your makeup can look cakey. The excess powder will sit on top of your skin, and instead of smoothing, it’ll look chalky and dry.
Okay, so how do you prevent this? It’s all in the application. When it comes to baking, there are two tools you need – a damp makeup sponge and a large fluffy brush. First, ensure your complexion products are blended seamlessly, then apply the powder using a damp makeup sponge – make sure it’s damp as this will allow the sponge to pick up the product and melt into the skin – then gently press it onto the skin. Allow it to sit for three to five minutes, then grab your loose fluffy brush. Make sure you lightly sweep away every last trace of powder.
For first-time bakers, you can try a two-minute bake time for a softer look and to see how you like the technique. Remember, the more time it sits on the skin, the longer the staying power.
We also love to use a powder puff for application, like the beautyblender Power Pocket Puff Dual-Sided Powder Puff, $15, as the shape allows you to get into those hard-to-reach places. All you have to do is lightly press the powder into the skin and enjoy long-lasting makeup that never creases.
The Finishing Touches…
Once you’re all baked, it’s time for the finishing touches to blend the look together and ensure you’re not left with any harsh lines. First, we go in with a sweeping of bronzer like our GloWish Soft Radiance Bronzing Powder, $31, underneath the cheekbones, along the jawline, and around the hairline. Finally, for a rosy glow, keep it matte and layer our GloWish Cheeky Vegan Blush Powder, $21, onto the high points of the cheekbones.
Et voilà! Consider this your baking masterclass. For more makeup tips, check out why your concealer is creasing and how to fix it.