9 Life-Changing Eye Makeup Tips You Need To Know
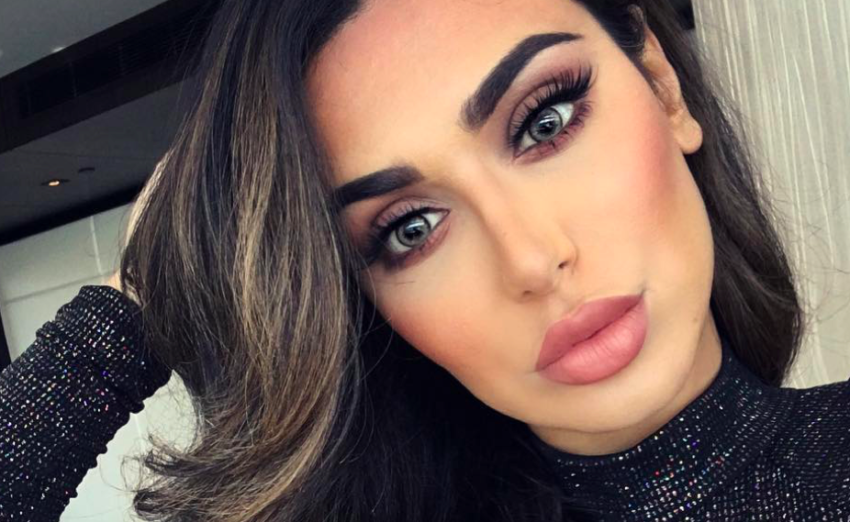
When it comes to eye makeup, there are so many elements that you need to get right to achieve a flawless final look, but there are so many things that can go wrong. Yup we’re talking about panda eyes, falsies that are falling off, and patchy AF eyeshadow… although we hate to admit it, we’ve all been there. But don’t sweat it, you don’t have to suffer from any of these dilemmas again, as long as you follow these easy yet life-changing makeup tips.
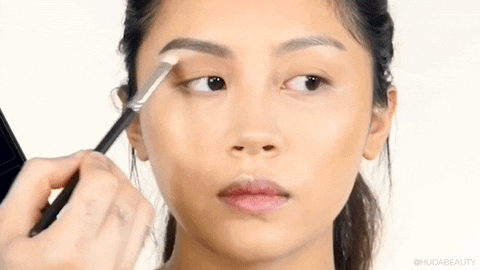
1. Prep your lid
If you fail to prime, prepare for a makeup fail. Okay, so this may seem a little dramatic, but by prepping your lid, you’ll help create a base for seamless blendability while ensuring that your shadow lasts all day, and remains crease-free. We do this priming ritual daily – even if we’re not applying any eyeshadow – as it opens up and brightens your eyes. Check out our 3-step priming process:
Step 1: First, remove any excess oil by lightly pressing a dry sponge onto your lid. This will soak up any moisture or oils sitting on your lid.
Step 2: Apply an oil-free or mattifying primer to soak up any remaining residue, which could cause your eyeshadow to crease. We love the Urban Decay Eyeshadow Primer Potion, $24, which has six different shades, so you can find a primer that matches your skin tone.
Step 3: To finish, apply a light dusting of setting powder to creating a smooth, even canvas for application.
2. Find the right brush for the task
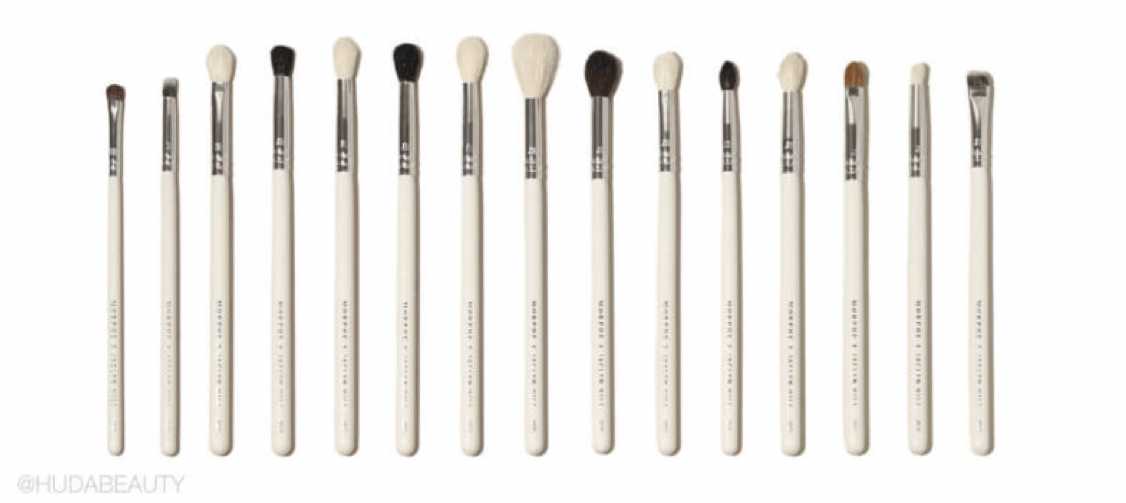
Any beauty lover will know the (magical) power of a good brush. Using the right tool will make your life so much easier: it’ll enhance pigment pay off and enable you to blend more easily. You’ll also be able to add definition and precision by using tailored brushes. Plus, if you’re working with different textures like shimmers, the right brush will pick up more product and apply the shimmer more consistently. Here’s a quick breakdown of the best brushes for different tasks:
Blending brush: A blending brush will help create an even base color and is perfect for adding shadow in the crease, which helps to create definition. Morphe has a great range of brushes and they’re super affordable too, our fave blending brush is the M332 Fluffy Crease, $6.
![]()
Source: Morphe
Smudging brush: If you want to soften an eyeshadow look for a sultry effect, then you need a smudging brush. We use our Huda Beauty Smoke & Smudge, $18, daily. The wider brush fits snugly into the socket, making it ideal for contouring, and the smaller side is great at buffing shadows along the lash line.
![]()
Densely packed brush: We use a densely packed brush whenever we want to create an intense look as it packs pigments onto the lid for eye poppin’ color. If you’re using a shimmer shade, a densely packed brush is also ideal. We love the Spectrum A16, $6.
![]()
Source: Spectrum
Flat angled brush: We’ll use a flat angled brush to create a wing or to enhance our lower lash line, the Spectrum MA14, $6, is perfect as it’s super fine making it ideal for achieving flawless precision.
![]()
Source: Spectrum
3. Blend like a pro
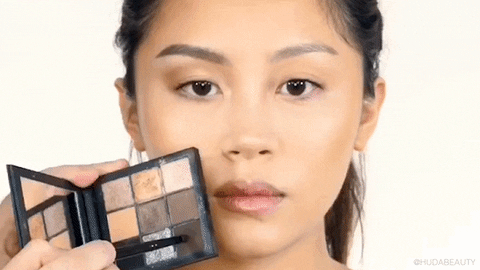
Now that you have the tools, you need to perfect your blending technique. Here are our top tips:
Pat then blend: To create an even base, pack the product by gently pressing the powder onto the lid. Once the color has then been applied, blend it out using back and forth motions (think windshield wipers).
Blend outwards: To lift and open up the eye, drag the eyeshadow outwards, up towards the tail of the brow. This will create a subtle cat-eye effect, even without a winged liner. Never blend downwards as this can make your eyes look a little droopy or tired.
Mix eyeshadows: Don’t be afraid to mix eyeshadows on your brush to create a more harmonious look that blends more naturally. Just make sure you tap off any excess pigment before you apply it to your lid.
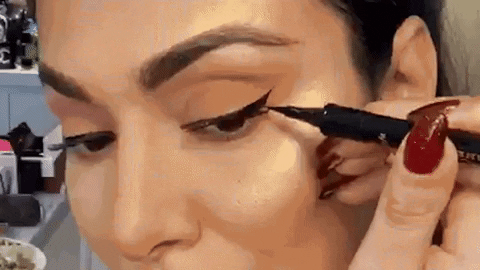
4. Choose a wing that flatters your eye shape
 Source: John Shearer/Getty Images & Jon Kopaloff/Getty Images & Cindy Ord/Getty Images
The right eyeliner can make your eyes look bigger, and take years off, while the wrong shape can make your eyes look smaller and even a little droopy – not ideal! You want to enhance your natural shape and play with the dimensions to create the illusion of larger eyes. For example, if you have round eyes you want to create the illusion of added width, and you do this by drawing focus to the outer corners. So, start your liner 1/3 of the way into your eye, bringing your line into a long, horizontal flick. Check out this post to find the right wing to flatter your eye shape.
5. Layer your liner with eyeshadow
Nailing a cat eye is a skill that can take years to perfect, so once you’ve created a killer wing, you want to ensure that it lasts. To set your liquid liner, apply a highly pigmented black shadow using a small angled brush for precision. This will help fill in any missing pigment and will help set your liner. If you want a softer, smokier finish, smudge the liner slightly with your brush, without taking away the shape. Check out this post for more eyeliner application tips.
6. Highlight strategically
Adding a touch of highlighter will instantly open up your eye and add a little shimmer. Applying highlighter to your brow bone will lift the brow, and applying a little to the inner corners of your eyes will help open them up. To finish, add a touch to the very center of the lid to make your eyes pop.
Posts You'll Love:
7. Don’t forget your water line
Avoid applying a dark kohl liner on your water line (aka the inner line of your eye), as this can make your eyes look smaller. For your lower waterline, opt for a nude pencil eyeliner to open up and brighten your eye. However, for your upper waterline, using a black pencil liner will make your lashes appear fuller.
8. Amp up your mascara
If you’re not into false lashes, this hack is going to change your life. It involves three products: an eyelash curler, volumizing mascara with a feathered wand, and a lengthening mascara with a plastic wand. Firstly, the eyelash curler will help lift your lashes and open up your eyes. The first mascara will help thicken your lashes and add drama. We use the L’Oréal Voluminous Lash Paradise Mascara, $10, it’s Beyoncé’s go-to, and all we’re saying is, if it’s good enough for the queen, it’s good enough for us! The second mascara separates the lashes, adding definition and length, for this, we use the Covergirl LashBlast Volume Mascara, $9, although you can use a plastic spooley.
9. Correct mistakes
For a flawless finish, we have no shame in using a queue tip with a little eye makeup remover to remove any product fall out or smudged lines. Honestly, it’ll take your look to the next level. To enhance a winged liner or a cat eye shadow look, outline edges with concealer on a small dense brush and blend outward.
Let us know what makeup tips you’d like us to write about next in the comments below.


 Daily Habits Will Give You Better Skin")


Leave a comment