Why Fire & Ice Facials Are Celebs’ Biggest Secret (+ How To Hack It At Home)

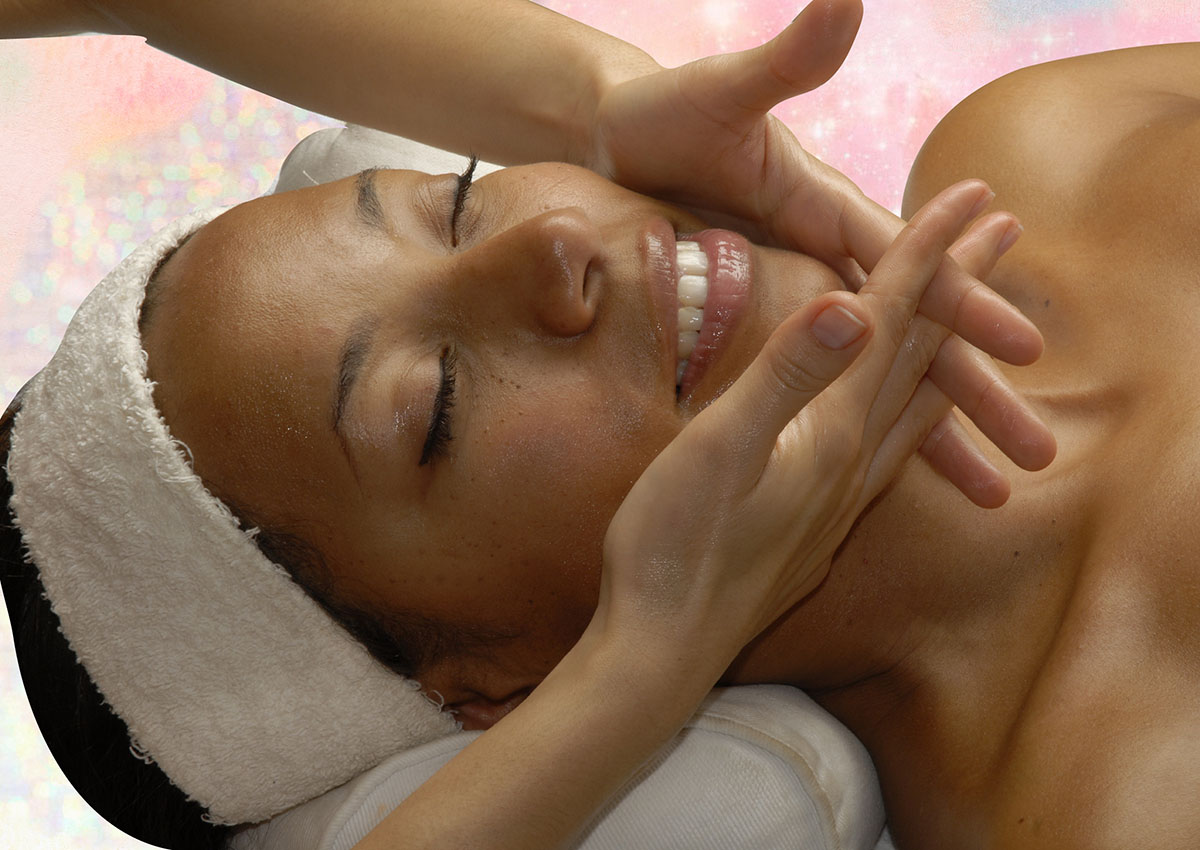
Ask any celeb what their go-to facial is before a big event, and most will answer: Fire and Ice. Its secret Hollywood code name is the “Red Carpet Facial,” and it’s also commonly referred to as “the peel without the peeling.”
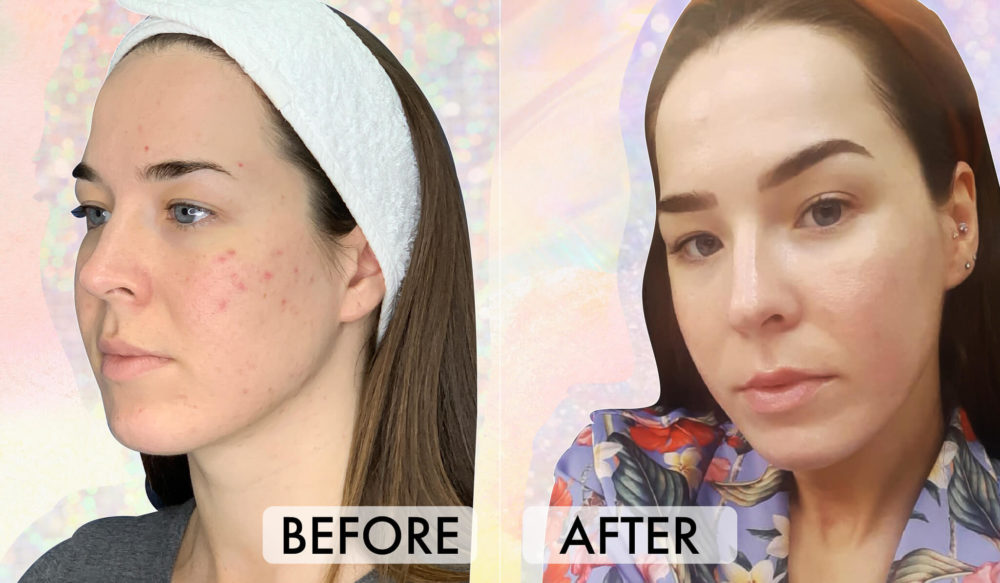
This non-invasive, med spa-level treatment is so advanced it even promises to resurface your skin in under an hour – without tons of downtime, flaking, or irritation afterward. So, it’s no wonder its initiated loads of trending TikTok videos inspired by the hot-and-cold benefits associated with the facial.
“Dunking your face in ice has been around for years,” explains Celebrity Esthetician and Founder of Taylor Worden Skin, Taylor Worden. “Joan Crawford would dunk her face every morning in ice water with witch hazel because it helps de-puff, tighten pores, and make your skin look taut and tight.”
While most of us have been there and done that with ice baths, thanks to Crawford and Bella Hadid’s social escapades in the name of beauty, we may be novices as far as the heat aspect is concerned with the DIY part of this facial. Is it safe to do at home, and how exactly should you do your own fire and ice treatment? We asked the pros to weigh in.
What is a Fire and Ice facial?
View this post on Instagram
“The Fire and Ice Facial is one of our most popular and signature treatments,” explains Melissa Pulcini-Buttine, Board-Certified Physician Assistant and Founder of ELIVATE MedSpa. “This intensive clinical treatment is designed to rapidly (and safely) resurface the skin, reducing fine lines and wrinkles while smoothing, softening, and encouraging cellular renewal at the same time.” Considering these concerns are usually the skincare goals most often requested during a facial, we are already off to a positive start.
Now, one might assume a treatment with the name fire in it might be a little, shall we say, scary? But fear not, there’s actually no fire involved. “The ‘fire’ is an 18% glycolic acid with a ph. of 2.3 combined with niacinamide and retinol for controlled resurfacing and retexturing, and the second half of the treatment (the ‘ice’) is a nourishing blend of bio-nutrients and hyaluronic acid providing a beautiful, hydrating, plump finish to the fire,” she adds.
Is the Fire and Ice facial Okay for All Skin Types?
“It’s excellent for all Fitzpatrick skin types and ages, and this facial results in a complexion that’s dramatically refined, with no downtime, peeling, or other negative side effects,” Buttine says.
What Does the Facial Feel Like?
View this post on Instagram
Worden says the treatment usually consists of two masks – one that has heat and makes your skin feels warm/hot and improves your circulation and one that’s a cooling mask to help hydrate and soothe.
“It literally leaves your skin super dewy and glowy,” she shares. Which is always a valid reason to invest in a medical-grade facial if you ask us. But with any popular skincare treatment (that can cost up between $100-$325+ depending on where you go), comes the obvious question: Can I do this at home?
Technically speaking, yes, but you’ll want to keep these expert tips in mind.
How to DIY a Fire and Ice Facial (Safely) at Home
“Is Clinical has an at-home fire and ice mask,” says Worden, who suggests coupling their Warming Honey Cleanser, $48 and their Hydra-Intensive Cooling Masque, $90, but she’s also a fan of Peter Thomas Roth Hungarian Thermal Water Mineral-Rich Atomic Heat Mask, $46, and Pixi Beauty In-Shower Steam Facial, $22, for the fire part. As for the cooling after effect, she says this can be achieved by using ice cubes, milk ice cubes, wine coolers and Greek yogurt, in addition to the OLEHENRIKSEN Cold Plunge Purifying Pore Mask, $41, and Charlotte Tilbury Cryo-Recovery Face Mask, $55.
For an extra cryo boost, Chillhouse New York’s Lead Chill Face Therapist Tomás Glenn loves Chill Globes, $45, which are stainless steel cryotherapy tools perfect for the icy part of a Fire and Ice Facial. “I recommend Chill Globes for the best early morning pick-me up, before social gatherings, or just when you’re home chillin’ and want to get into some self-care,” he says.
If you don’t have any warming masks on hand, just use Glenn’s trick. Begin by double cleansing to remove surface debris with a warm towel compress, then incorporate a gentle exfoliant (he’s partial to Dermalogica’s calming and hydrating Daily Milkfoliant Exfoliator, $64). Remove the exfoliant with a warm towel, and apply your favorite sheet mask while using the cyro globes over the mask.
Posts You'll Love:
Are Fire and Ice Facials Safe?
To do our due diligence, we also consulted Dr. Kim Nichols, Board-Certified Dermatologist and Founder of NicholsMD of Greenwich, on whether or not fire and ice facials (especially the at-home kind) are safe. “There can be some risks associated with fire and ice facials,” she warns. “Any type of heat can dilate capillaries in the face, causing redness and damaging skin’s barrier. Similarly, extremely cold objects or ice cannot be left on the skin for too long or you’re at risk of redness or broken capillaries once again.”
So if you want to be sure you’re playing with fire and ice in the safest way possible, Nichols suggests having a board-certified professional perform your treatment. But her derm-approved hack for a similar facial would be to start with an at-home facial steamer for the heat, then cleanse with your favorite face wash and apply a hydrating or soothing serum or gel masque. “You can even layer on a sheet mask to help with penetration as well,” she suggests. “Once the masques are removed, a gentle massage in an upwards motion with cryo wands can help promote circulation, de-puff, and sculpt the face overall.”
Are There Any Pre-Treatment Rules to Follow?
Avoiding laser or waxing to areas on the face 72 hours prior to treatment, as well as vitamin A (retinol) or glycolic acid. Buttine also recommends discontinuing any harsh resurfacing or exfoliating products 3-5 days prior to treatment as well.
How Long Until You See Results?
Here’s the best part: Results are rapid, and you can see a glow immediately after the treatment. “Sometimes after the treatment, your skin may seem a little flushed, but this effect will wear off within 4-6 hours,” Buttine notes. “You’ll be glowing that night immediately after, but the duration of the glow depends on how good the at-home regime is, of course.”
And with that in mind, here’s the easiest way to keep a glow going at home.


Leave a comment