The Simple (But Dramatic) Brow Hack I Wish Everyone Knew!
View this post on Instagram
Hey my loves! I honestly can’t remember when it started, but for as long as I can remember, I have been OBSESSED with eyebrows! I just love the way they frame your face and create harmony and balance. So, when it comes to brows, I am very particular!!!
One hack I think that can make a HUGE difference to everyone’s face is bringing your brows slightly closer together. Literally, just by taking your brows further in by a few millimeters can make a big difference. Some of you might already be doing this, but I find that often when we talk about brows, we discuss the shape of the arch or the method of filling them in, and this one small thing never gets a mention.
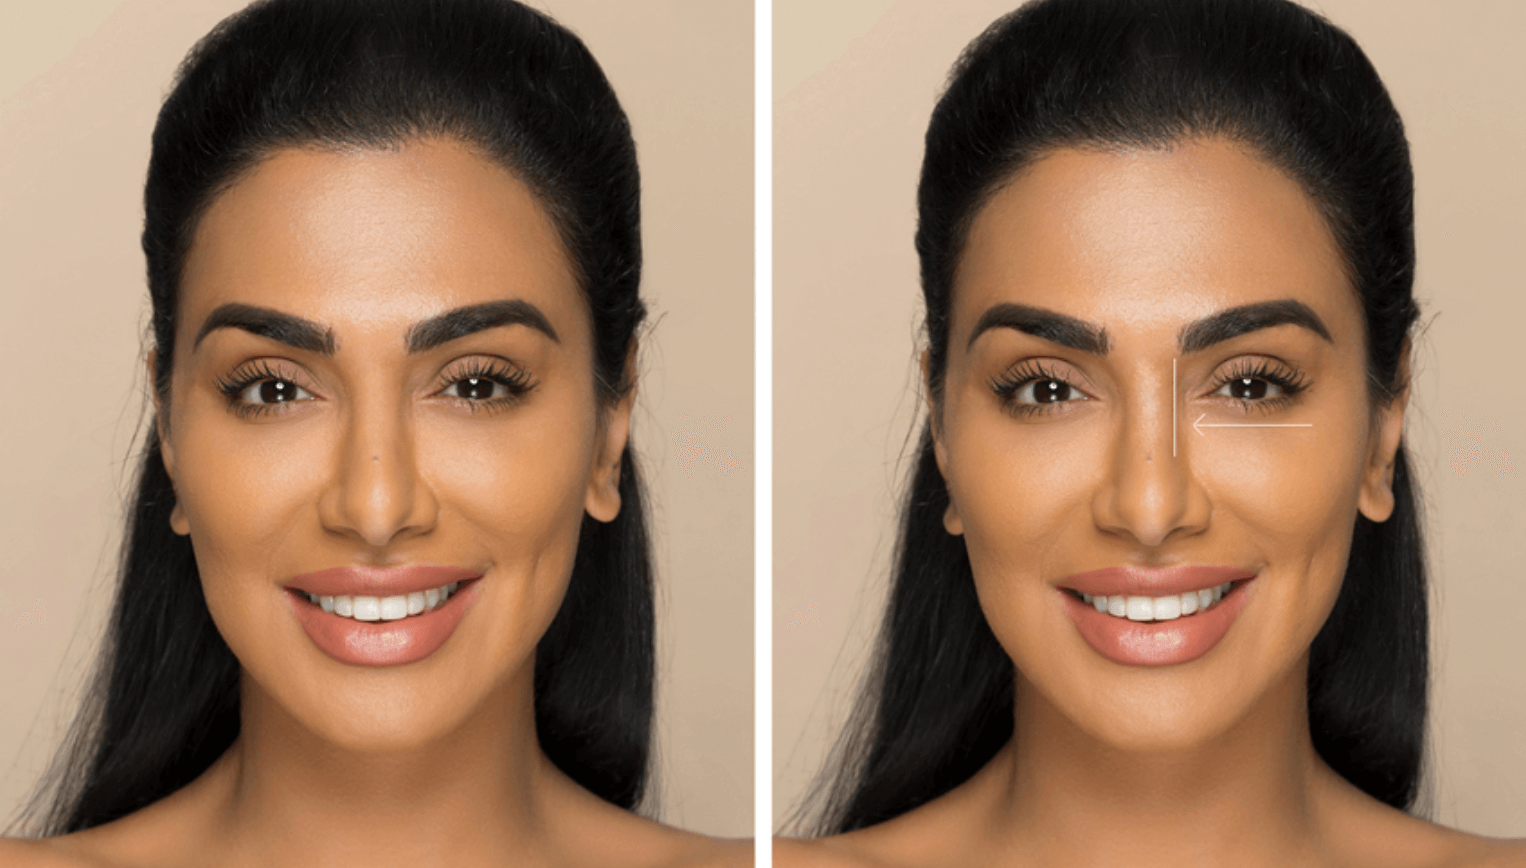
If you look at the image below, we’ve digitally edited my picture on the left so that the space between my brows is wider. You can see that by bringing them closer together, my face looks more slender and balanced.
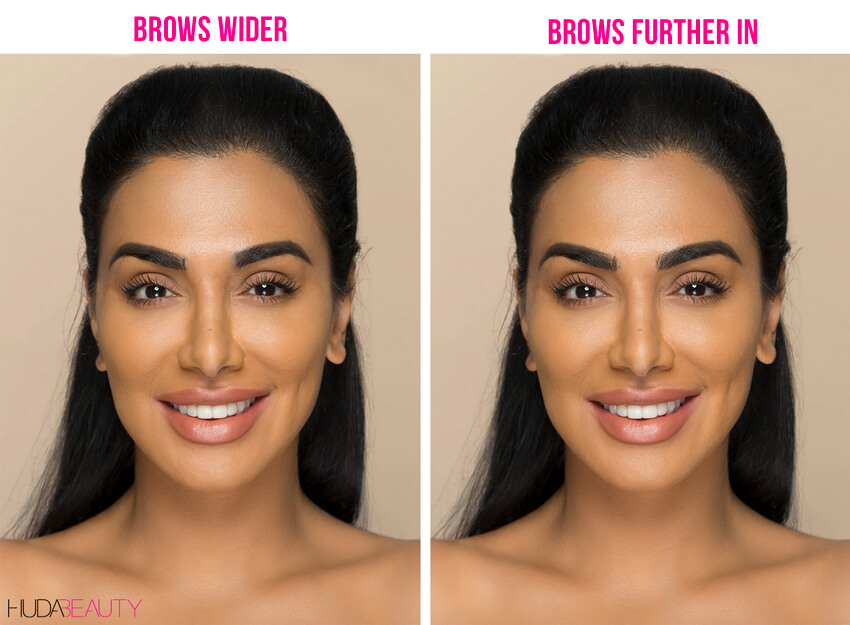
For many of you, the picture on the left is where your brows might naturally start, so like me, you’ll have to draw the brow hairs on. I know it can feel weird when you first start doing this, but when you try it, you’ll be shocked at what a difference it can make.
If like me you also like to contour your nose to make it appear a little slimmer, this hack of bringing the brows closer together will also help to make your nose look narrower.
My tips for bringing your brows closer together:
1. Always use a slightly lighter shade on the inside of your brows and a darker shade for the middle and tale-end of your brows. This creates dimension so they don’t end up looking too blocky!
2. It’s likely your brows won’t start at exactly the same place, so you might only need to bring in one of your eyebrows or you may need to add more to one of them than the other.
3. You can use any products from a pomade to a powder, to a brow pencil. I’ve put my fave products below.
4. When bringing your brows together, start off gradually working your way in, because you also don’t want them to be too close together. A general rule is to use a small makeup brush and hold it vertically at the side of the tip of your nose to measure where your brow should begin. But this doesn’t need to be too strict, as obviously people have different shaped noses, so you don’t need to follow this exactly.
5. When you’ve finished doing your brows, take a step back and look at your face in a full mirror. I often use a smaller mirror to do my brows, and this means you don’t get to see the full picture. When you can see your whole face, you’re more easily able to see if your brows are truly balanced and even.
The tool I’ve used in my video below is super extra and helps make your brows perfectly symmetrical, but even if you don’t use one, you can see how I bring my brows in and shape them to become much fuller and more balanced:
View this post on Instagram
Products we recommend:

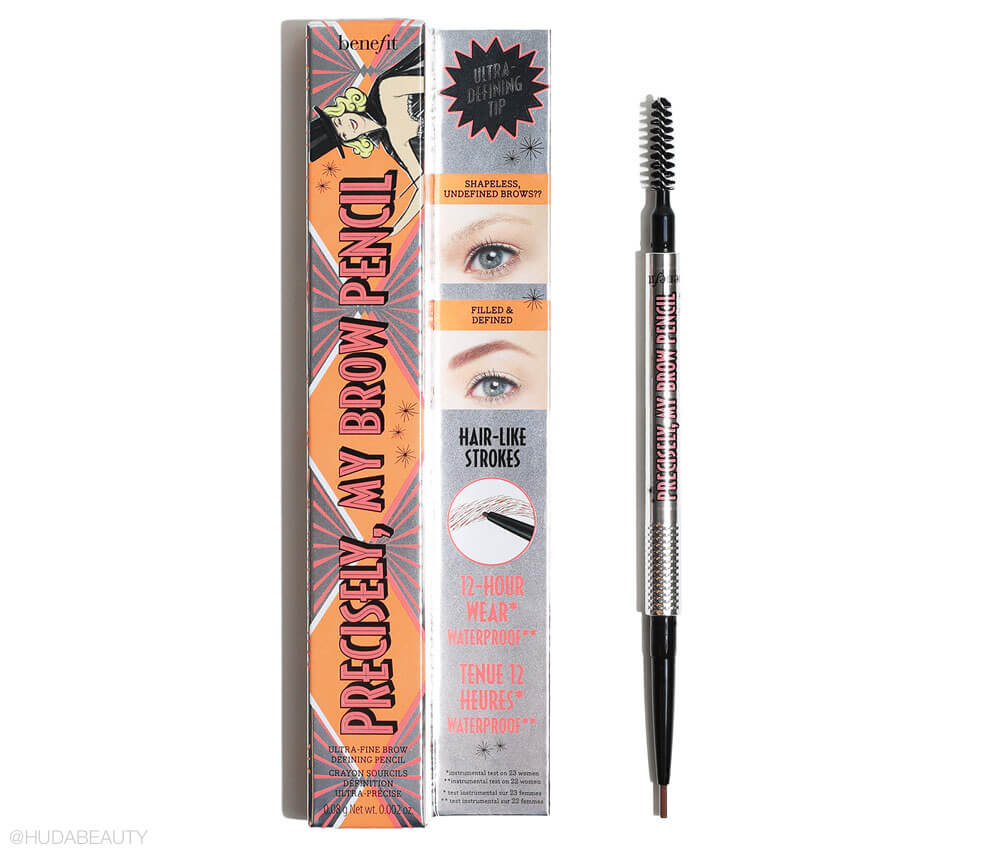
I love to use the Benefit Precisely, My Brow Eyebrow Pencil, $24, because you can draw tiny hair-like strokes and make your brows look really natural. I use the pencil in 4.5 for most of my brows and then I use 2.75 for the front of my brows as it’s a bit softer. (Check out my full review here).
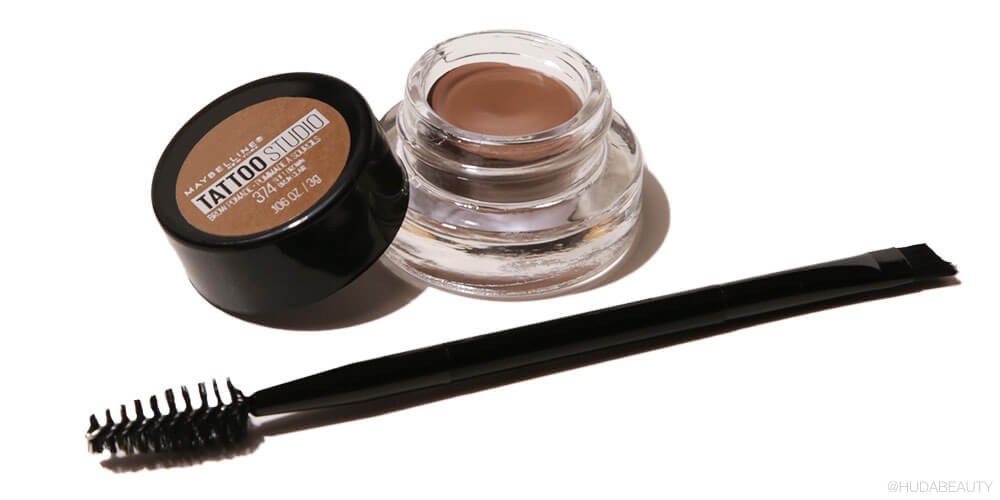
You can also mix up the products you use, so you could use a pomade at the tale end of your brows to help tame them and keep them in place, and a powder or pencil at the front for a softer finish. This Maybelline TattooStudio Brow Pomade, $10, is great for taming your brows and it’s also buildable, transfer-proof, waterproof, and smudge-proof, and comes in 8 shades.
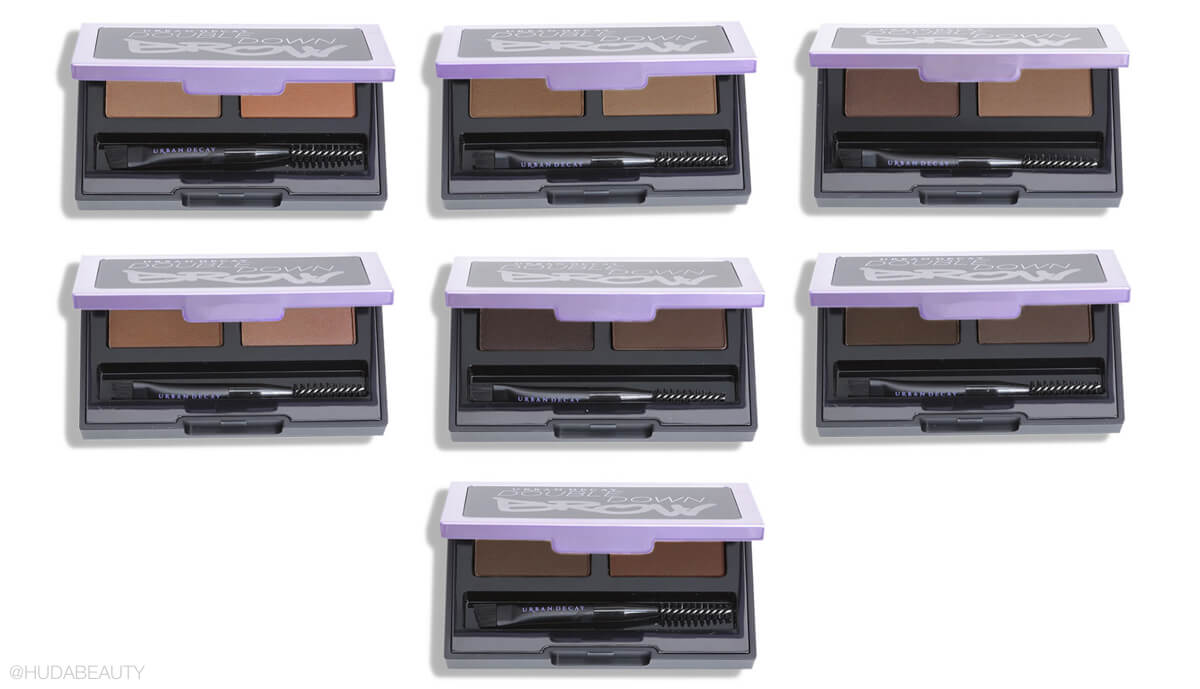
The Urban Decay Double Down Brow, $29, is a buildable, waterproof putty that comes with two shades, so you immediately have the shades you need to add dimension to your brow. We love the long-lasting formula and variety of shades.
Do you guys do this already? Let me know if you’re going to try it out in the comments below!






Leave a comment