The BEST Beauty Hacks We Tried In The Last 10 Years… And Still Use!

OMG, we literally cannot believe it – it’s been ten amazing years since the Huda Beauty brand was born! While we can’t imagine life without it, these ten years have flown by, and tbh, it makes sense – we’ve been reaaaaaal busy.
To celebrate, we wanted to take a little trip down memory lane with the best beauty hacks we’ve tried in the last ten years. All our fellow millennials will know that we’ve been out here trying hack after hack long before TikTok joined the beauty fam. Some of these hacks you’ll know, and others will be new, but trust us, these are the beauty hacks EVERYONE should know! Tried, tested, and approved by yours truly.
1. Always Prep your Skin to Create the Ultimate Makeup Base

The bottom line is, your beat will never be its best without prepping your skin first. It’s just a fact. If you skip these two essential steps, your makeup is more likely to settle into fine lines or collect in dry and flakey areas rather than be perfectly smooth. It also helps your makeup stay in place for longer.
Step 1: Exfoliation is key, as this will help create a smooth canvas for makeup application and melt away any dead skin while leaving your skin brighter than before. Of course, we always reach for our WISHFUL Yo Glow Enzyme Scrub, $39, as it’s formulated with papaya and pineapple enzymes that remove dead skin while amping up your glow game. We’re obsessed.
Step 2: The next step is hydration. Start with a plumping serum. For the undereye area, we love using the WISHFUL Eye Lift and Contour Peptide Serum, $45, as it’s super lightweight and hydrating, but it also firms the lids and undereye area for a smooth finish. Then, we seal in all that glazed hydration with the WISHFUL Honey Whip Peptide Moisturizer, $48, as it’s formulated with nourishing manuka honey and restorative peptides to plump and protect. It sounds simple, but it’s one of those make-or-break steps.
2. Use Ice Water to Depuff and Tighten Your Pores
This has to be one of the easiest (and cheapest) skincare hacks EVER. We first heard about it from celeb facialist Georgia Louise, who works with supermodels like Karlie Kloss. It’s pretty simple, just a little chilly. All you have to do is splash your face with ice-cold water for around one minute.
It mimics the effect of the coveted cryo-facial, AKA utilizing cold temperatures to encourage blood flow, soothe inflammation, and depuff your skin… hello cheekbones! It also tightens the appearance of pores and just makes your skin look really bright and alive. Sign us up!
How to give yourself an ice facial: Prepare a bowl of ice cubes, submerge them in water, and allow the ice to melt for a few minutes. Now, you can either splash your face with the cold water or take a deep breath and dip your face in for about 20 seconds at a time. Make sure you move your face about so every inch experiences that icy rush.
3. Learn How to Snatch with Concealer

Concealer really is the G.O.A.T makeup product. Beyond its ability to conceal any blemishes and nix dark circles, it has snatching superpowers. When applied strategically and with the right shade, it brightens, lifts, and sculpts your complexion like no other. We couldn’t live without our #FauxFilter Luminous Matte Concealer, $29; it’s just so creamy and buildable, plus it doesn’t crease.
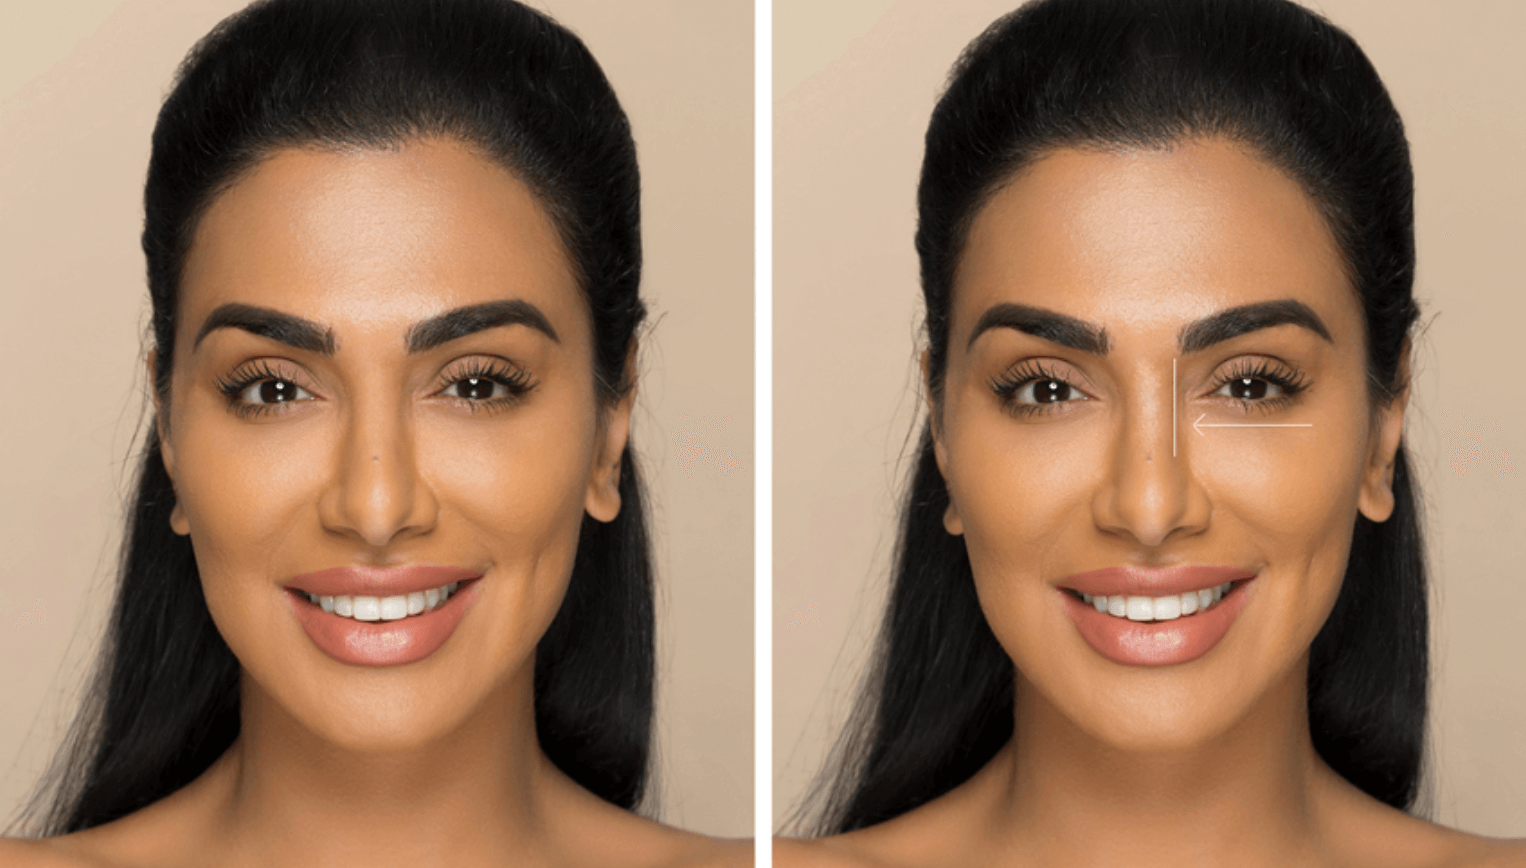
The secret to snatching lies in the concealer shade and placement. Your snatch shade should be three to five shades lighter than your skin match (find out more about your snatch shade here). By heightening the contrast with your skin, it enhances the brightening while creating natural shadows that give a seriously sculpted final look.
To snatch, apply the concealer to the inner and outer corners of your eyes (extending out towards your temples), on the bridge of your nose, the outer corner of your mouth, and underneath your cheekbones. Always apply in an upward motion, and then blend using small tapping motions, following the same direction (upwards).
4. Cook Your Concealer for More Coverage
If you want to increase the coverage of any concealer, the trick is to cook with it. No, we don’t mean putting it in the oven. The technique refers to applying your concealer to the areas you want to target, then leaving it for between one to three minutes before you blend it out – experiment to see which timing works best with your formula and the level of coverage you want.
Essentially, this ‘drying’ time allows the concealer to start setting into your skin, which means that when you go to blend, it’s almost semi-dry and doesn’t disappear into your skin or blender. You want to catch it just before it completely sets so that you’re still able to blend it. It’s magical! Check out the full scoop on cooking concealer here.
5. Bake to Set and Snatch Your Makeup

Baking is, without a doubt, our fave hack – we couldn’t do our makeup without it. Wanna know why? Well, it locks your makeup in place from morning to night, and it helps achieve that blurred, airbrushed finish. As if that wasn’t enough, when applied strategically, it can help brighten and sculpt your facial features for an effortlessly snatched lewk.
How to bake: Start by applying your complexion products – to bake, the powder needs some form of cream or liquid formula to grip. Once your base is blended, dip a powder puff or damp makeup sponge into the powder and apply a thick layer of setting powder (using a dabbing motion) on the areas of your face you want to brighten and set. Once you’ve let it set for three to five minutes (whatever you have time for), simply dust away any excess powder with a fluffy brush.
@hudabeauty #hudabeauty #foryou #xyzbca #hudabeautyeasybake #bakinghack @hudabeauty ♬ original sound – Huda Beauty
Where to bake: The main area we like to bake is our undereyes, starting from the inner corner of the undereye, from the bridge of the nose, and extending all the way to the tail end of the brow. You can also bake your smile lines, as this is an area where makeup tends to crease throughout the day. When we’re going full glam, we also bake underneath our cheek contour to create more contrast and sculpt our cheekbones. Then we apply any excess powder to the chin and forehead to control oil and mattify.
Our go-to baking formula: Our Huda Beauty Easy Bake Loose Setting Powder, $34, is a cult-fave for a reason. Not only does the finely-milled powder smooth and set your makeup, but it’s also available in nine shades, so you can easily find a shade that blends seamlessly with your complexion products.
Posts You'll Love:
6. Use Micellar Water to Create a DIY Liquid Liner
@hudabeauty Wow this hack is too good 🙌 IB: @monet mcmichael 🤍 #hudabeauty #foryou #xyzbca #makeuphack @hudabeauty ♬ original sound – Huda Beauty
TikTokers recently shared the most amazing hack that transforms any eyeshadow into a liquid liner. Just grab a fine liner brush, soak it in micellar water, and then pick up some eyeshadow and apply it to your lid. See it in action in the tutorial above.
7. How to Fake Fuller Lips with Lip Contour
@hudabeauty My new lip contouring technique 💋 #hudabeauty #foryou #xyzbca #fyp @hudaxnour @hudabeautyshopofficial ♬ Lazy Sunday – Official Sound Studio
Real talk: you don’t have to spend money on injectables to plump your lips, you can easily fake the effect using makeup too.
However, just like your complexion, start with a little lip prep. Use a lip exfoliator like the Makeup by Mario Perfecting Lip Scrub, $24, then wipe away any dead skin with a warm towel and hydrate with a lil’ lip balm. Blot away any excess moisture with a tissue.
Now to contour: use a brown or nude shade of lip liner, like our Lip Contour 2.0 in Sandy Beige, $19, (or just use your regular contour formula) and draw a line from the center of your nose to the middle of your Cupid’s bow, and then mimic the shape of your Cupid’s bow right above it, so it forms an arrow shape. Then, draw two small lines a couple of millimeters below your low lip line on both sides. Blend it out using a small dense brush and then apply a little foundation – just use any excess on your brush or makeup sponge.
Next up, grab a lip liner in a shade that matches your natural lip color, and draw an X at the Cupid’s bow. Outline the lips, being careful not to go too far outside your natural lip line. You can overline your lips by tracing just a millimeter beyond your lip line – always start small and build gradually. Then, connect your liner at the corners and fill the lips with liner, fading towards the center. Apply your matching lip shade all over; we love to use the Huda Beauty Liquid Matte Lipstick, $21, as it’s super long-lasting.
Next, using lipstick in a lighter shade, dab it onto the center of your lips and blend it out with your finger to create the illusion of a fuller pout. You can also apply a touch of concealer if you don’t have a lighter shade. To make the lip look fuller, add a high-shine gloss or a dusting of highlighter on the center of the lip and Cupid’s bow. Et voila, plump AF lips!
8. Use a Post-it to Slay a Winged Eyeliner Look

One of our all-time favorite liner hacks is using a post-it to get a clean, straight wing with the right angle! It’s so simple and makes the whole process SO much easier.
Start by placing the post-it edge along the lower lash line and angle it towards the tail end of your brow. Use this edge as a guide to create your wing. Wait for the liner to set, then slowly peel away the post-it. Next, draw along your lashline to meet your wing.
9. Contour Your Eyelids for Natural Definition
View this post on Instagram
Regardless of the look you’re going for – from a natural look to a smokey eye – always define your crease by contouring your lid. You’ll add depth and definition to the eye by creating the illusion of a shadow in your crease.
Start by taking an eyeshadow two to three shades deeper than your skin tone. Your bronzer shade will work perfectly. Using a soft fluffy brush, build up the shadow using a back-and-forth motion along the crease of your lid, extending towards the tail end of your brow.
10. Try our Fave DIY Lash & Brow Serum
Bursting with fatty acids, vitamins, and antioxidants, castor oil is our go-to elixir for boosting hair growth. It’s basically a natural growth serum, but here’s the real tea – don’t just use regular castor oil, Black Jamaican Castor oil is where it’s at. The oil is completely natural and isn’t diluted, so the nutrients and vitamins pack a serious punch. We use the Tropic Isle Living Jamaican Black Castor Oil, $14, as it’s 100% pure JBCO and is hand-processed.
Simply grab a spoolie and comb it through your brows and lashes every morning and night. Within six weeks, you’ll notice a difference.
What’s your fave makeup hack? Let’s chat in the comments below.
Disclaimer: Every product we review has been independently selected and tested without bias by our editorial team. We never take payment to review products, although some brands allow affiliate links, so we may earn a commission if you purchase a product by clicking on one of our links.


Leave a comment