This $6 Hair Tool Is My Secret To Mega Volume

Okay, so here at HB HQ, we’ve made it our mission to bring back the bumpit. The majority of you are probably wondering “wtf even is that?” Well, we’re here to tell you that it’s the secret to next level volume no matter how thin your hair is, and with a little help from a bumpit or two, you’ll have hair Bridgette Bardot would be jealous of. For any of you 90s babies, you’re possibly already familiar with this retro hair accessory from your teen years, but it’s time to resurface it from the back of your beauty drawer. Or, if you don’t already have one, they’re super affordable, making them a great alternative to hair extensions if you’re looking for volume on a budget. Here’s everything you need to know about your soon to be favorite hair accessory.
What is a bumpit?
 Source: Amazon
A bumpit is basically a piece or strip of hair-colored foam, attached to a clip. You place the clip beneath the under sections of your hair, concealing the clip with the top layers, which creates the illusion of greater volume. You can also get bumpits made out of plastic, but these aren’t as soft or as easy to work with, so we prefer to use the foam clips. Most bumpits usually only cost a couple of dollars, and can be bought from most drugstores or on Amazon, $6. Or, if you like to get crafty like us, you can always make your own bumpit using kitchen foam and any hair grip you have lying around the house. Check out our easy DIY bumpit how-to video:
How To Insert A Bumpit
Step 1: Section your hair level with your brows, lifting the hair and flipping it over to the opposite side.
Step 2: Secure the bumpit, fastening it tightly to your scalp in the area you want to add volume (usually the crown of your head).
Step 3: Backcomb the under-section of the hair that you’ve sectioned, combing it towards your scalp. The finer your hair, the more you should backcomb it, which will help hide the bumpit.
Step 4: Flip the remaining section of your hair over the bumpit so that you can no longer see the foam and the bumpit is completely hidden.
If you need some inspiration on what hairstyles work well with a bumpit, here are some looks were drooling over right now:
When you’re hair is short, a bumpit should be your go-to accessory. You just need to make sure you tease the hair thoroughly and secure the hair around the bump it using hair grips.
This woman is basically the queen of big hair, so she’ll forever be our hair inspiration. The bumpit actually works really well for a classic 90s side parting.
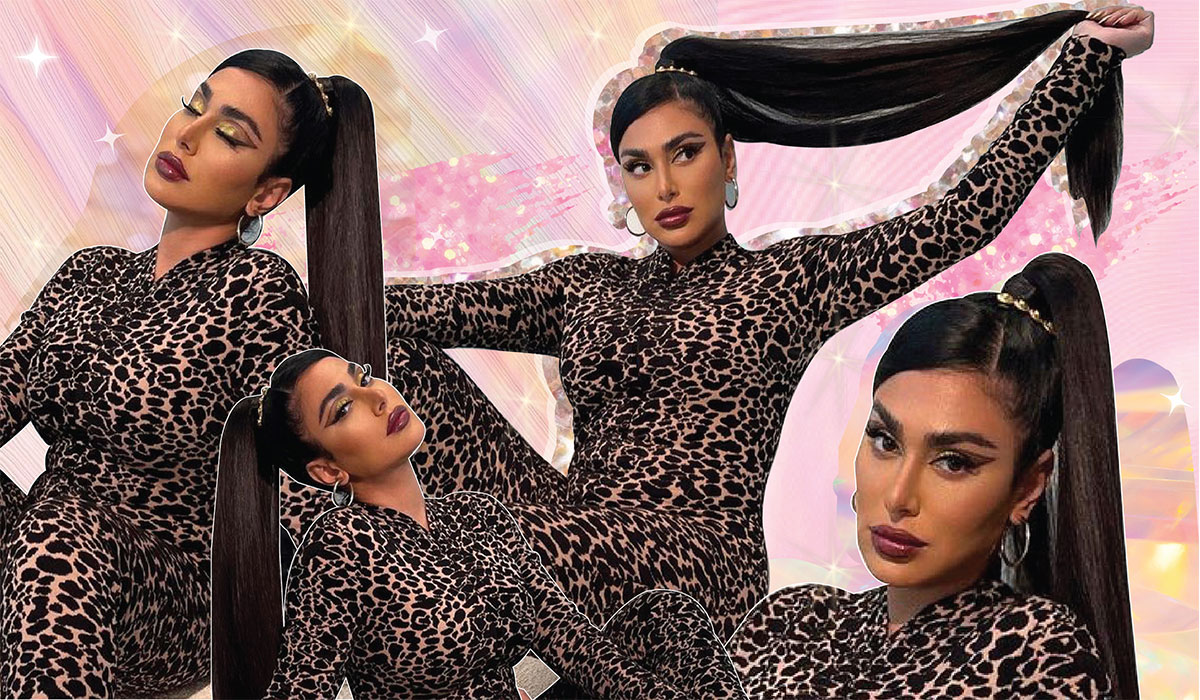
This slightly retro updo is making a comeback, and using a bumpit is your fast-track ticket to nailing the hairstyle. Simply position the bumpit at the crown of your head, and secure your remaining hair in a neat bun or a tight ponytail.
Let us know if you’ve ever tried bumpits in the comments below.


Leave a comment