14 Concealer Tricks To Brighten, Conceal & Snatch EVERYTHING

Concealer is truly the gift that keeps on giving. The formula has the power to conceal, brighten, sculpt – you name it, it does it – making it one of our ride-or-die formulas. Seriously, when it comes to versatility, this baby takes first place.
So, make the most of your concealer with our curated list of game-changing (and industry-backed) tips to take your makeup mastery to new heights. Introducing the 2022 HB concealer crash course. Get your notes ready loves, ‘cause class is officially in session.
Basics: How to Use Concealer
Start by applying your foundation or tinted moisturizer, and follow the steps above for any areas you want to conceal. Opt for a concealer that matches your skin tone to conceal blemishes or any areas on the face. If concealing under the eyes or using concealer to cover dark circles, choose a shade two to three shades lighter than your complexion, which will help lift and brighten this area.
Concealer Tip #1: Choose Your Shade
To Conceal: “If you want your concealer to blend in with your foundation for a natural look, I recommend matching the concealer with your foundation,” says Ash K Holm, MUA behind the Kardashian’s iconic glam looks. This is often the best match for concealing pimples or areas on the skin.
To Brighten: “If you want to use your concealer to highlight, I like to go one to two shades lighter than your foundation shade – highlighting will lift the face and reflect light,” Ash adds. We love to use a brighter shade under our eyes and along the bridge of our nose.
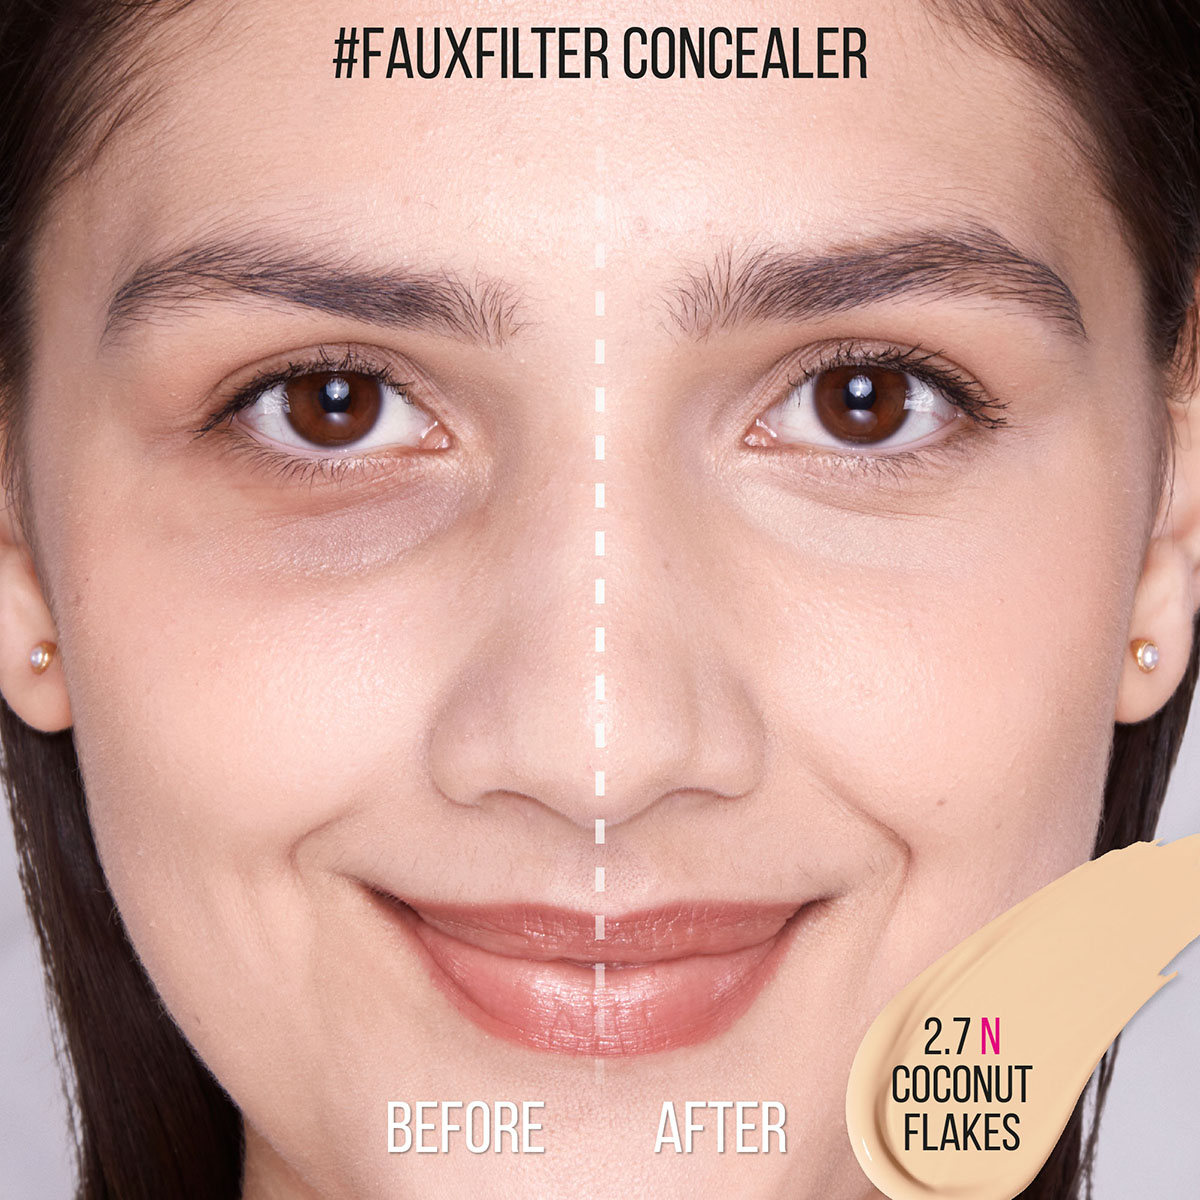
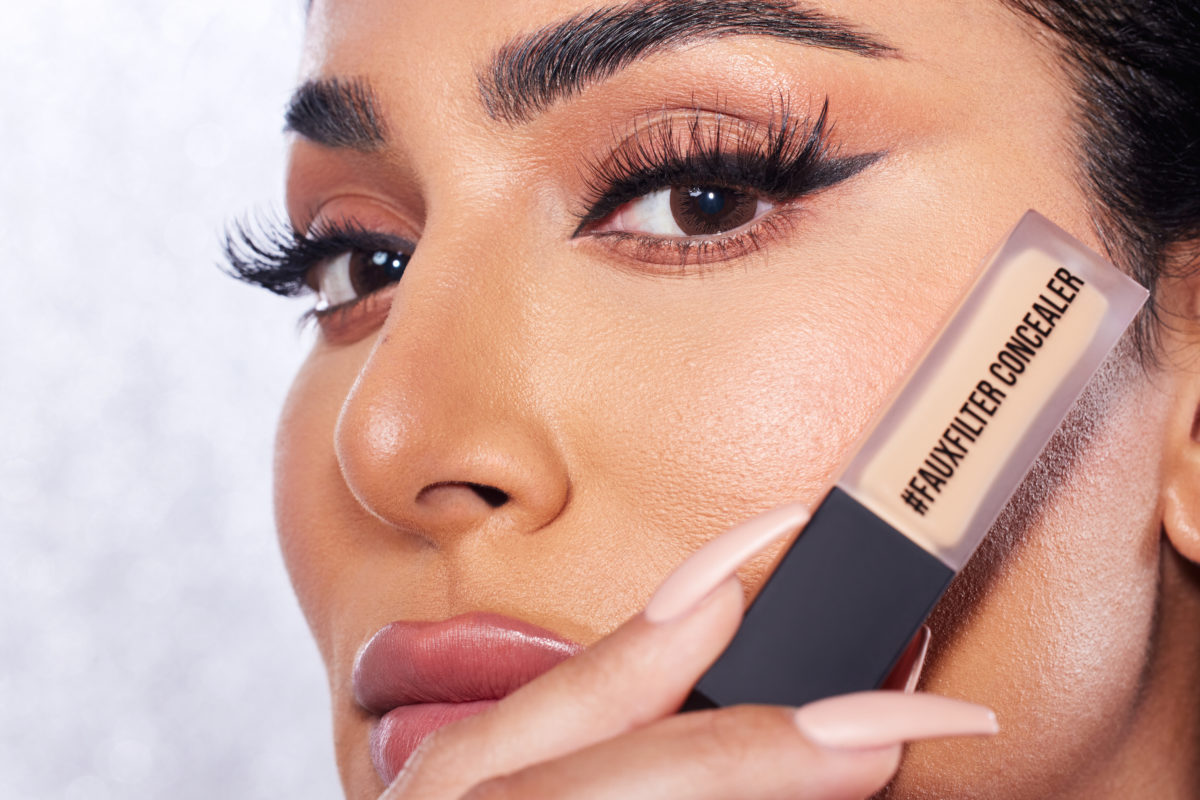
Find your perfect conceal or brighten shade in our stunning new #FauxFilter Luminous Matte Concealer, $29. It’s super hydrating, comfortable on the skin, blends and builds like a dream, and doesn’t crease. Check out our easy-to-use shade guide here.
Concealer Tip #2: Choose Your Coverage
Just like foundation, concealers are available in a variety of textures that achieve different effects. Celeb makeup artist Kira Nasrat breaks down the prime differences between cream and liquid concealers: “Creamy concealers are going to give you a bit more coverage while liquid can give you lighter coverage,” she explains. If you prefer full coverage, opt for a medium-to-full-coverage formula to avoid using too much product.
Concealer Tip #3: Choose Your Tool
 via Giphy
There are three commonly used concealer tools, each with its own set of benefits…
Fingertips: Using your fingers to blend your concealer will provide a natural skin finish as the heat from your fingers will melt the product seamlessly into the skin.
Makeup sponge: If you desire lighter, natural coverage on the skin, a damp beauty sponge will soften and absorb excess product.
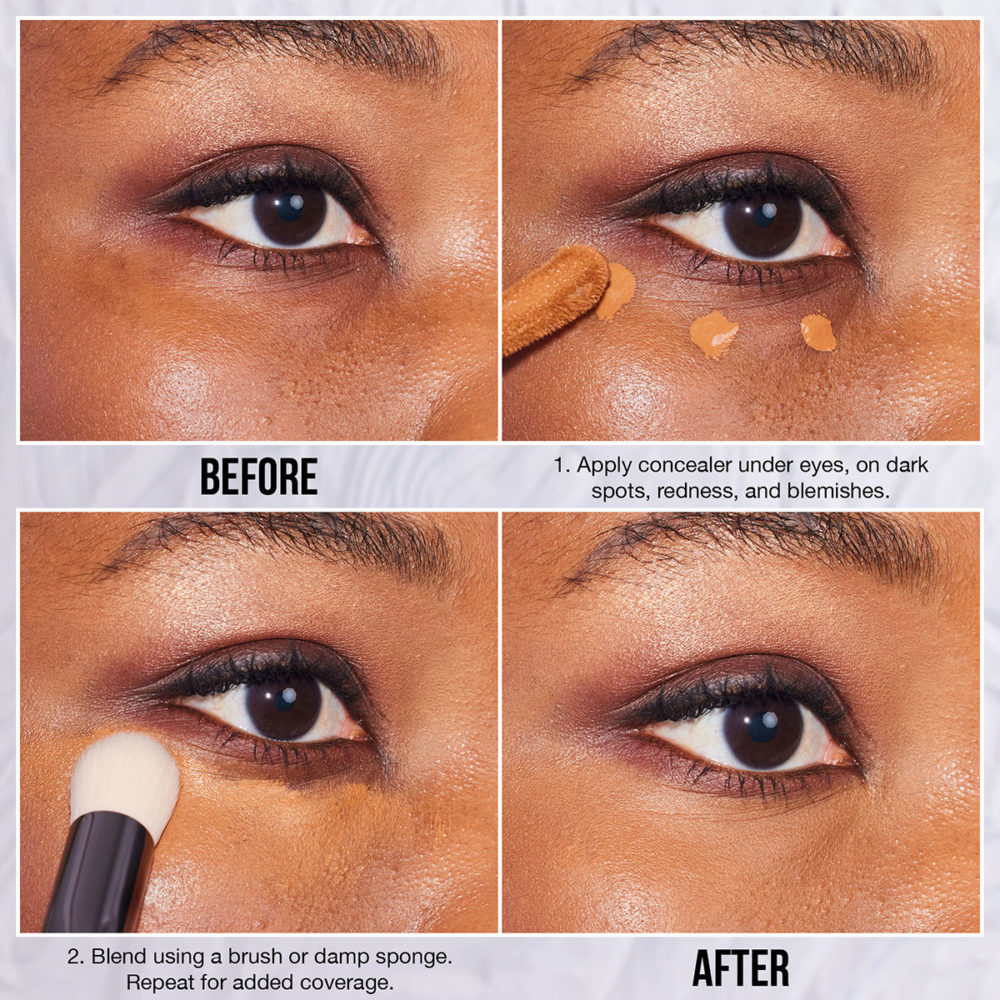
Concealer brush: For heavier coverage, grab a concealer brush and use continual stippling motions (i.e. dab and press the product down into your skin). For a streak-free finish, finish by blending out the product using circular motions or lightly bounce a damp makeup sponge across the area.
Concealer Tip #4: Prep & Layer Strategically
 via Giphy
You’d never apply varnish to chipped nails, and it’s the same when it comes to laying the perfect complexion. Here’s our step-by-step to get the most beautifully laid complexion:
- Prep skin with a hydrating moisturizer to plump and prep skin. For all-day wear layer a primer on top, like our Huda Beauty Water Jelly Primer, $33.
- Apply your fave foundation or skin tint – if you plan to conceal the under eyes, you can leave this area bare of foundation.
- (Optional) Layer up a color corrector to neutralize any areas of concern (dark circles, pigmentation etc).
- Apply a thin layer of concealer to areas you want to target (choose which shade based on tip one), then blend.
- For longevity and to avoid your base creasing in smile lines or around the eyes, set your liquid products with a powder, like our Huda Beauty Easy Bake Loose Setting Powder, $35, to lock your concealer and foundation in place.
Concealer Tip #5: Brighten the Undereyes
If you’re looking for a quick technique to conceal and brighten the under-eye, use the three-dot method. Simply apply three small dots of concealer, starting at the inner corner of the under-eye and moving outwards. Make sure you don’t apply the concealer too close to the lower lash line as this can make your eyes look smaller. True story: a little natural shadow under the lash line can make your eyes appear naturally bigger.
If your concealer typically creases around the outer corner of the eye, only apply concealer to the inner corner as this is where most dark circles are more prominent. This will instantly open and brighten the eye while reducing the likelihood of creasing.
How to Conceal Dark Circles
Take the process above one step further, and continue by using a brightening powder to bake the under eye area. Baking your makeup involves laying a heavy layer of loose setting powder on top of the concealer and allowing it to sit there for three to five minutes. This process not only locks the concealer in place and prevents creasing throughout the day but also helps brighten the undereye and ensure they stay bright all day long.
Once the powder has had time to set, lightly dust away any excess with a fluffy brush! Check out our full guide to baking your makeup here.
Concealer Tip #6: Eye-Lifting Trick
 via Giphy
For an instant eye lift, grab a concealer that’s two shades lighter than your foundation to highlight and snatch certain areas. First, apply concealer to the inner corner of the under-eye, then the outer corner, dragging the formula up towards the tail end of your brow. To enhance the lift, blend the formula in an upwards motion using a brush or makeup sponge.
Concealer Tip #7: Highlight Strategically to Sculpt
@hudabeauty Facelift hack IB @Victoria Lyn 💄 #concealerhack #hudabeauty #foryou #xyzbca #fauxfilter Concealer #hudabeautyeasybake @hudabeauty ♬ original sound – Huda Beauty
While we’re on the topic of lifting, concealer is the ultimate weapon to strategically sculpt the natural contours of your face.
Start by highlighting the under-eye (as outlined in tip #6), then apply concealer to the outer corner of your nose, mouth, and underneath your cheekbones. Blend the concealer in an upwards motion and then set with powder.
Concealer Tip #8: Increase the Coverage of Your Concealer
Instead of layering multiple layers of concealer to increase the coverage, once you’ve applied the formula to your skin, allow it to sit and “cook” for two to three minutes before blending it out. This is another genius makeup tip from the drag community, which increases the coverage of your formula (and the wear-time) without looking cakey. Read more about the technique here.
Concealer Tip #9: Concealing Pimples 101
Pimples, skin texture, and pores are what real skin is made of! However, if you want to conceal them, try this method:
- (Optional) Begin with a green color corrector to neutralize and cancel out redness.
- Blend your foundation over the pimple.
- Apply a dot of full-coverage concealer to the pimple (in a shade that matches your foundation), let it sit for two minutes, then lightly tap to blend out with a dense concealer brush or the tip of a damp makeup sponge.
- If a little redness is still peeking through, add a layer of powder and let it sit for one to two minutes, then dust off.
Posts You'll Love:
Concealer Tip #10: Level Up Your Eyeshadow
If you want to level up your eyeshadow game, try these three easy hacks:
Hack 1: Prime: Run out of eyeshadow primer? Just use your concealer instead, then set with a light dusting of powder. This will create a clean base for eyeshadow application and cancel out any discoloration or redness on the skin too (TBH, we often prefer this more than the conventional primer).
Hack 2. Cut: Another iconic hack we learned from drag queens is how to create a super easy cut crease. First, work a darker shade into your crease, then with a small flat angled brush, use concealer to outline the shape of your lid, and voila!
Hack 3. Snatch: Use your concealer like an eraser to clean up messy eyeshadow edges. After you’ve applied your eyeshadow, use concealer on the outer corner of the eye, extending the placement toward the tail end of your brow (as it’s demonstrated in tip #6).
Concealer Tip #11: Snatch Your Nose
If you want to make your nose look more defined, apply a concealer that’s roughly two shades lighter down the center of your nose. To heighten this contrast, set it with a brightening setting powder.
Concealer Tip #13: Fix Cakey Makeup
To fix cakey makeup, use Urban Decay global makeup artist Steve Kassajikian’s trick to correct it. “I spray Urban Decay Quick Fix Hydra-Charged Complexion Prep Spray, $33, onto my brush or beauty sponge and blend or press the concealer to add hydration and smooth it out,” he says. Not only will this save you time, but this primer helps reduce the appearance of fine lines and replaces lost moisture. Double bonus.
Concealer Tip #14: Create A DIY Skin Tint
For those no-makeup makeup days, DIY a skin tint using your concealer. Mix your concealer with a drop of moisturizer, or for a glowy finish, a drop of glow-enhancing cream, like the GloWish MultiDew Skin Tint, $37. It’s the perfect skin accessory for summer days.
Now that your concealer skills are certified pro-level, check out these 5 drugstore concealers that celeb MUAs LOVE to add to your stash.


 Daily Habits Will Give You Better Skin")


Leave a comment